Introduction
Installation
Guides
- Engine
- Profile
- Browser
- BrowserView
- Navigation
- Content
- Context menu
- DOM
- JavaScript
- Pop-ups
- Dialogs
- Downloads
- Network
- Cache
- Cookies
- Proxy
- Authentication
- Permissions
- Plugins
- Printing
- Passwords
- User data profiles
- Credit cards
- Media
- Zoom
- Spell checker
- Deployment
- Chromium
Troubleshooting
- Logging
- Common exceptions
- Application does not terminate
- Video does not play
- Cannot sign in to Google account
- User data is not stored
- Color scheme
- Startup failure
- Slow startup on Windows
- Unresponsive .NET Application
- Unexpected Chromium process termination
- Unexpected behavior
- Windows 7/8/8.1 end of support
Migration
Installing License
This article describes how to configure DotNetBrowser license.
You can obtain an evaluation license and start using your 30-day trial by filling in web form.
If the license is missing, not valid or not installed properly, the following error message is shown:
Unable to find a valid DotNetBrowser License. Please make sure you have set up your license correctly. To do so, follow the instructions here: https://links.teamdev.com/dotnetbrowser-installing-license
To solve it add a proper license key to your project using one of the following ways:
- Set the license key through the API.
- Create the
dotnetbrowser.licensefile with your license key and add it as Embedded Resource. - Put the
dotnetbrowser.licensefile with your license key to the working directory of your .NET application.
Installing key through the API
To install your license key use the following API:
IEngine engine = EngineFactory.Create(new EngineOptions.Builder
{
    LicenseKey = "your_license_key"
}.Build());
Dim engine As IEngine = EngineFactory.Create(New EngineOptions.Builder With
{
    .LicenseKey = "your_license_key"
}.Build())
This approach overrides the license key added as Embedded Resourse or copied to the working directory.
Installing key through a license file
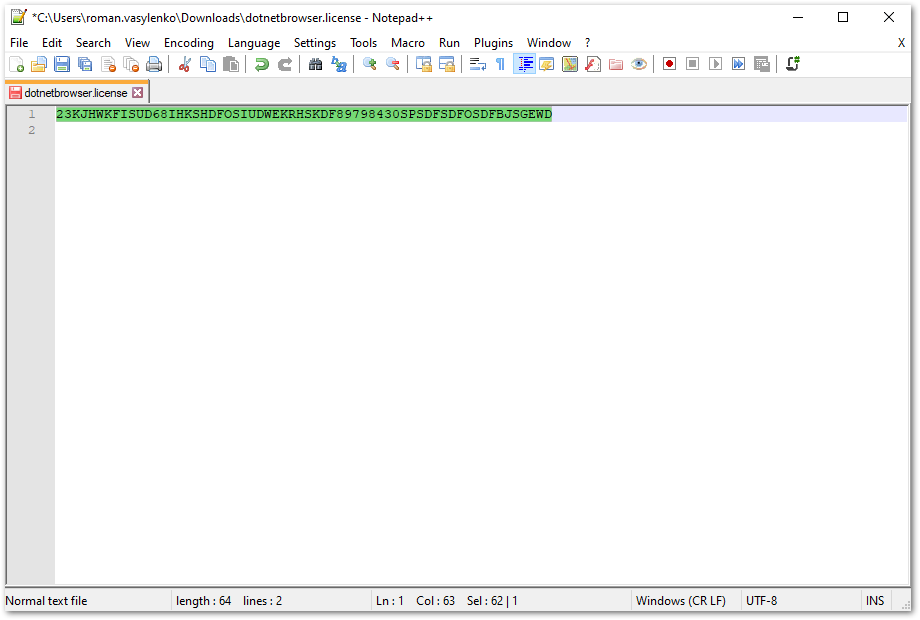
The license file (dotnetbrowser.license) is a simple text file containing the license key. If you have a license key only and need to have the dotnetbrowser.license file, you can create this file in a text editor, such as Notepad or Notepad++, and insert your license key into this file:
Embedded Resource
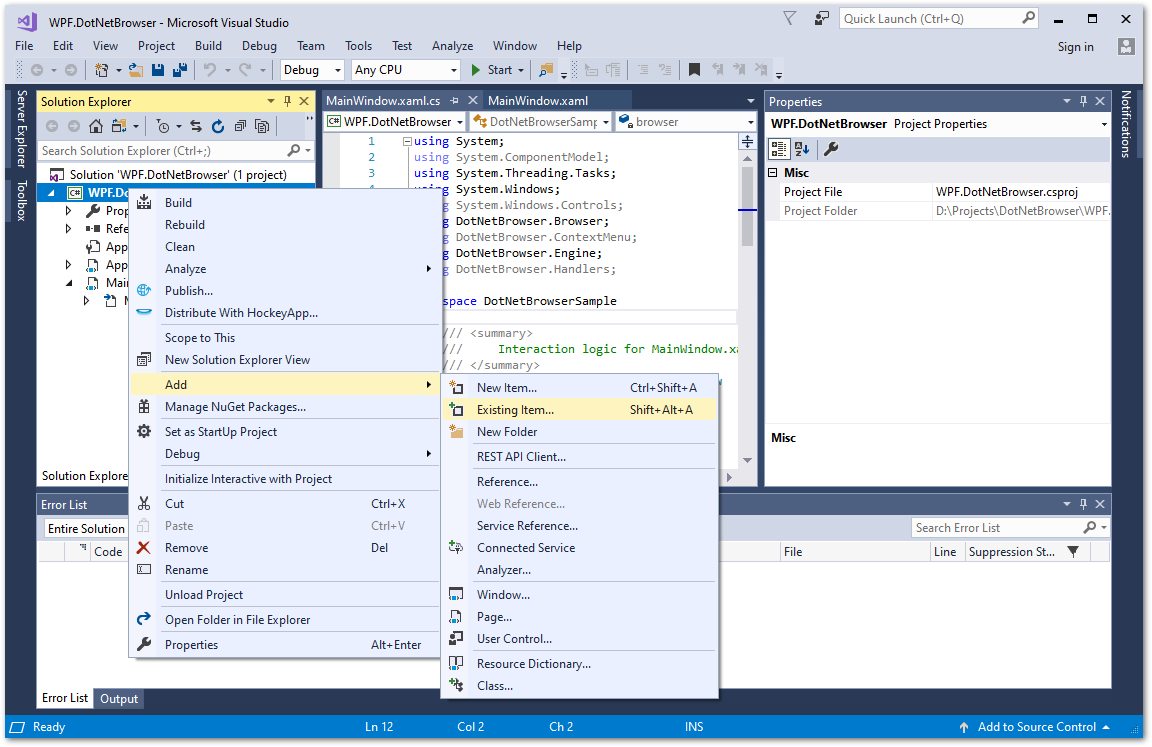
In Solution Explorer, right-click your project, select Add > Existing Item… and add dotnetbrowser.license file:
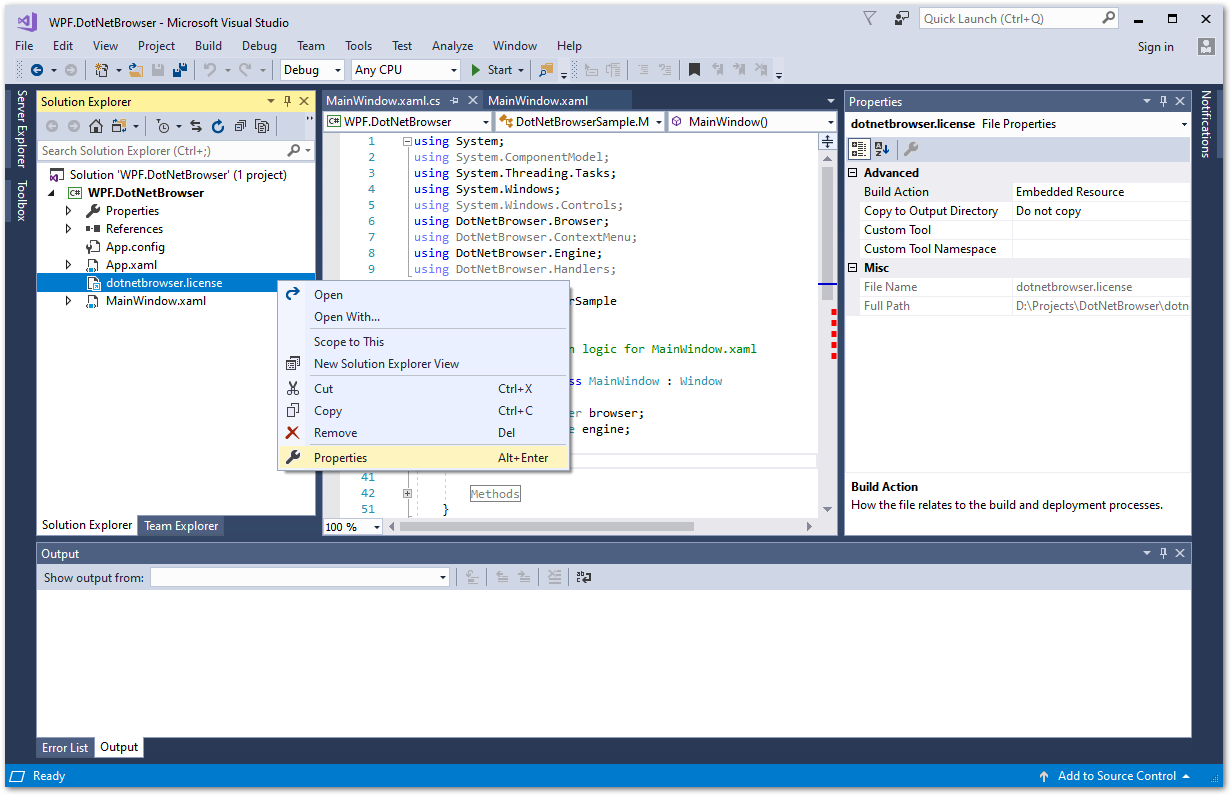
In Solution Explorer, right-click dotnetbrowser.license and select Properties. In the Properties panel which opens, select Embedded Resource as Build Action:
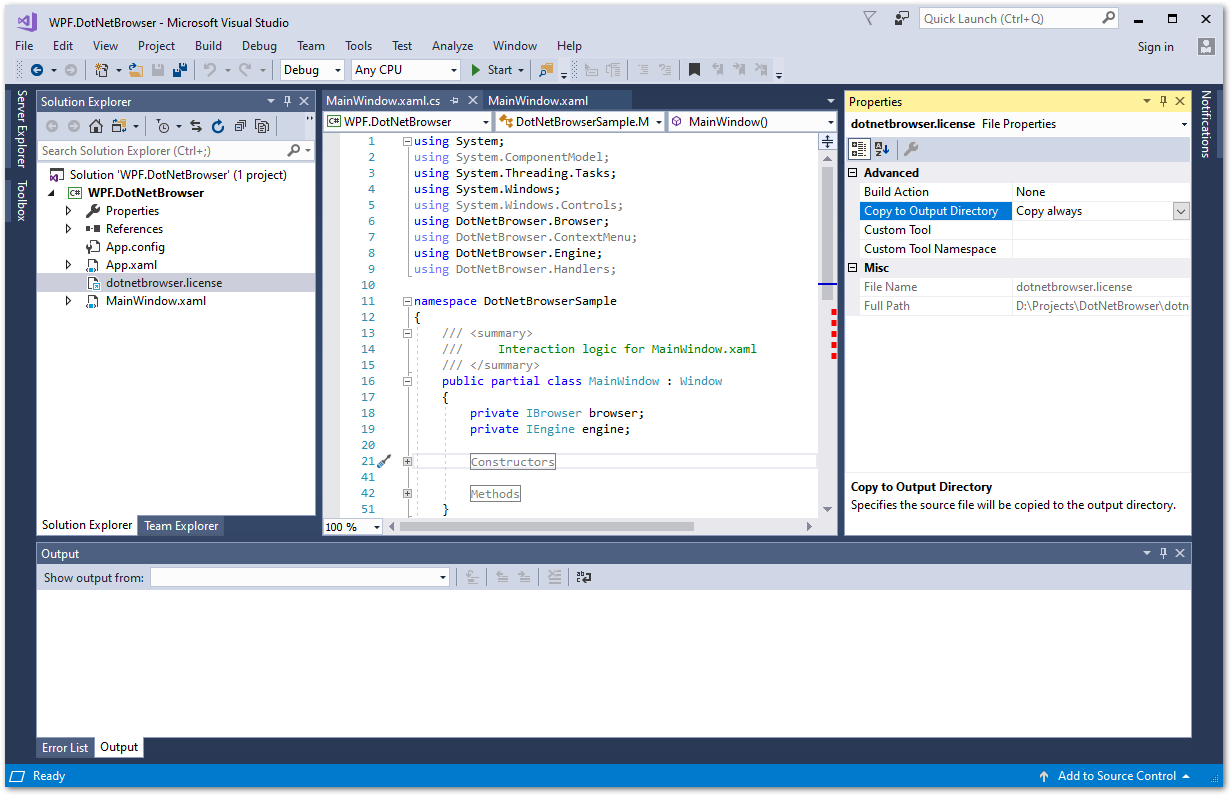
Working directory
You can copy the dotnetbrowser.license file to the working directory of your .NET application. The process of adding the file is much similar the first approach described above. However, you need to specify the Build Action setting as None and Copy to Output Directory as Copy Always in the Properties section:
Adding a license file to the demo application
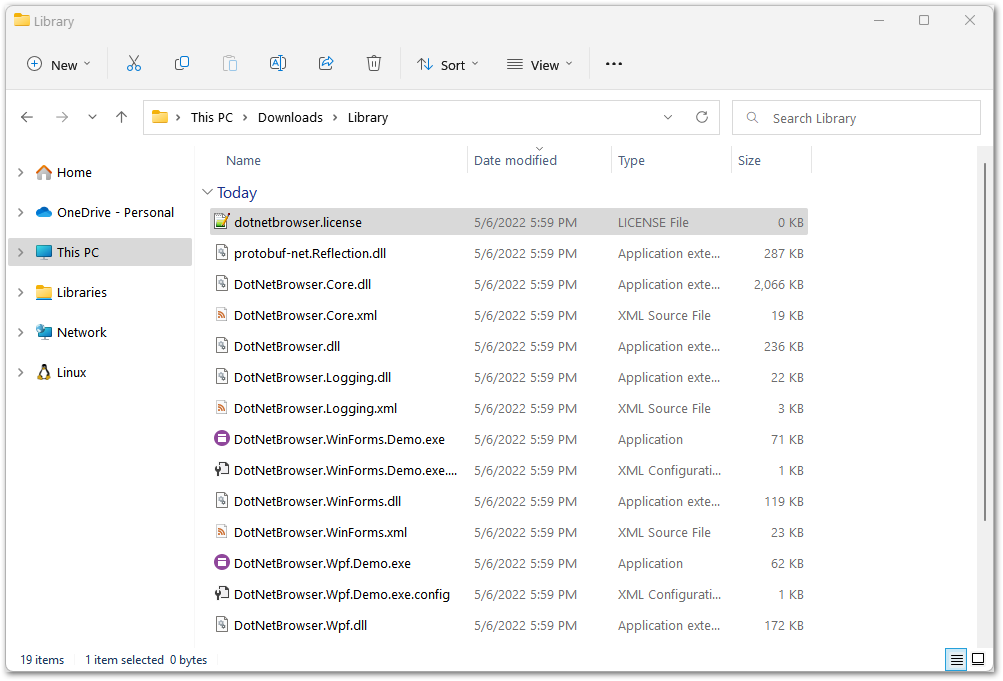
To launch DotNetBrowser demo application, add the dotnetbrowser.license file to a working directory next to DotNetBrowser.Wpf.Demo.exe and DotNetBrowser.WinForms.Demo.exe executables. To do so:
- Download DotNetBrowser 2.x distribution archive.
- Extract the archive into, for example,
C:\Downloads\DotNetBrowser-2.x\directory. - Create the
dotnetbrowser.licensefile in a text editor, such as Notepad or Notepad++. Insert your license key into this file. - Navigate to the
Librarysubfolder and copy/move the license file there: