VSTO
This tutorial shows how to create a VSTO add-in and embed DotNetBrowser into Microsoft Outlook.
DotNetBrowser provides a WinForms BrowserView control that can be used with VSTO add-ins to add the Chromium-based browser as an integral part of a Microsoft Office application. In this tutorial, we will show how to embed a BrowserView control into the Microsoft Outlook inspector.
Implementation
Adding DotNetBrowser to Add-in project
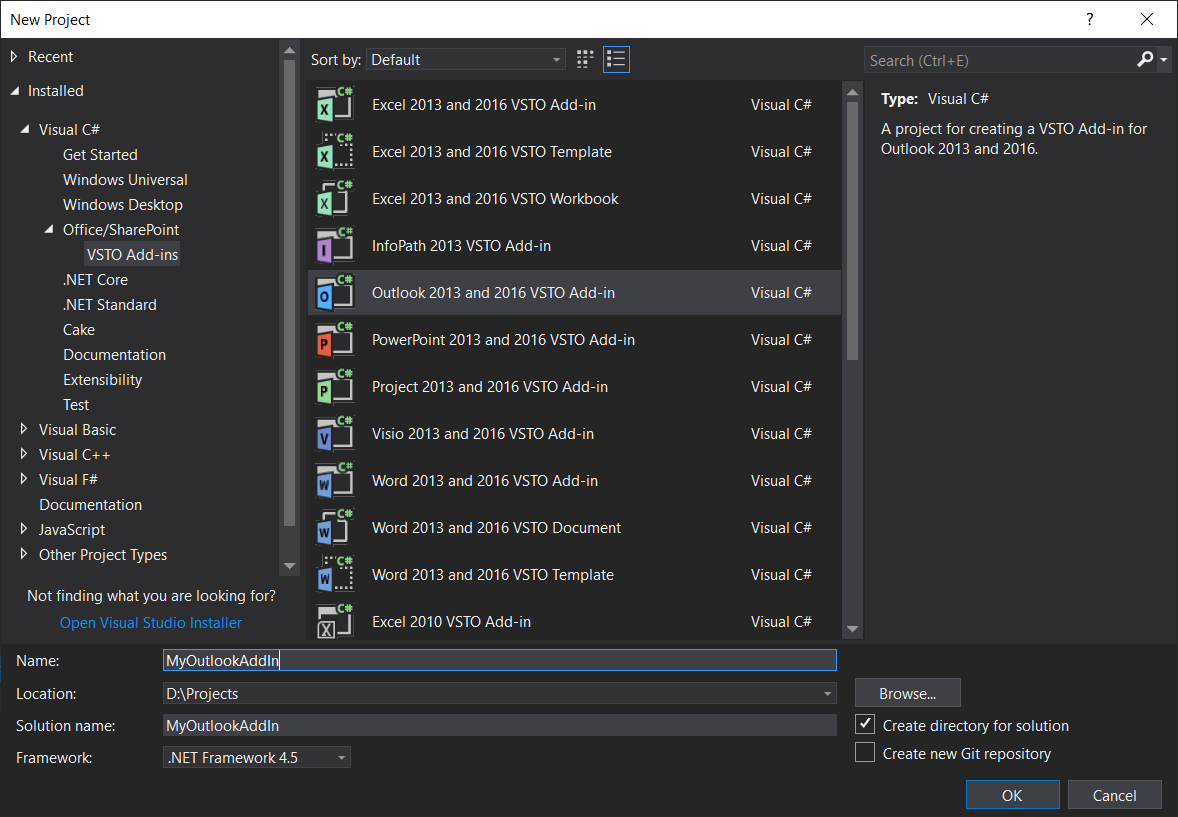
In Visual Studio, create a sample add-in project for Microsoft Outlook. You can find the corresponding project template in the “VSTO Add-ins” section:
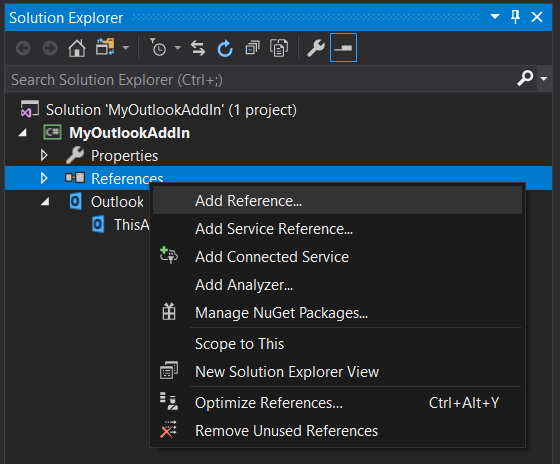
Add all the necessary references to our project. To do so, in the Solution Explorer, right-click the References node and select Add Reference…:
Select all the required DotNetBrowser assemblies and click Add:

Make sure that the DotNetBrowser license is also configured as described in this article.
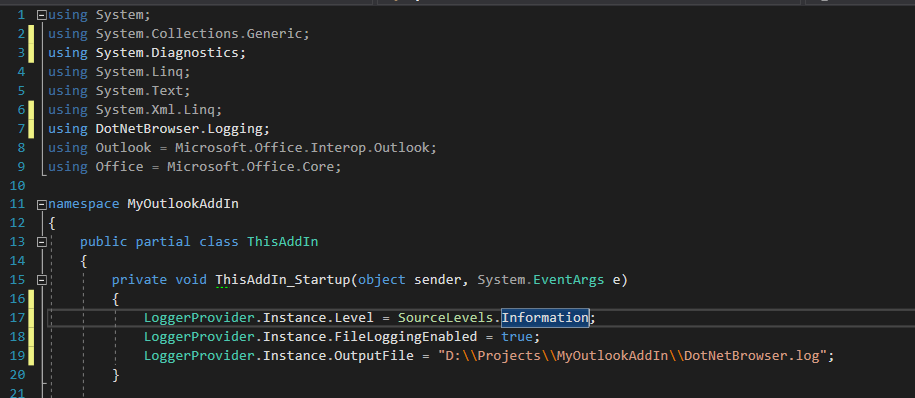
To make the add-in debugging more convenient, configure DotNetBrowser logging during add-in initialization and specify the location to store the log file as shown below:
Creating form region
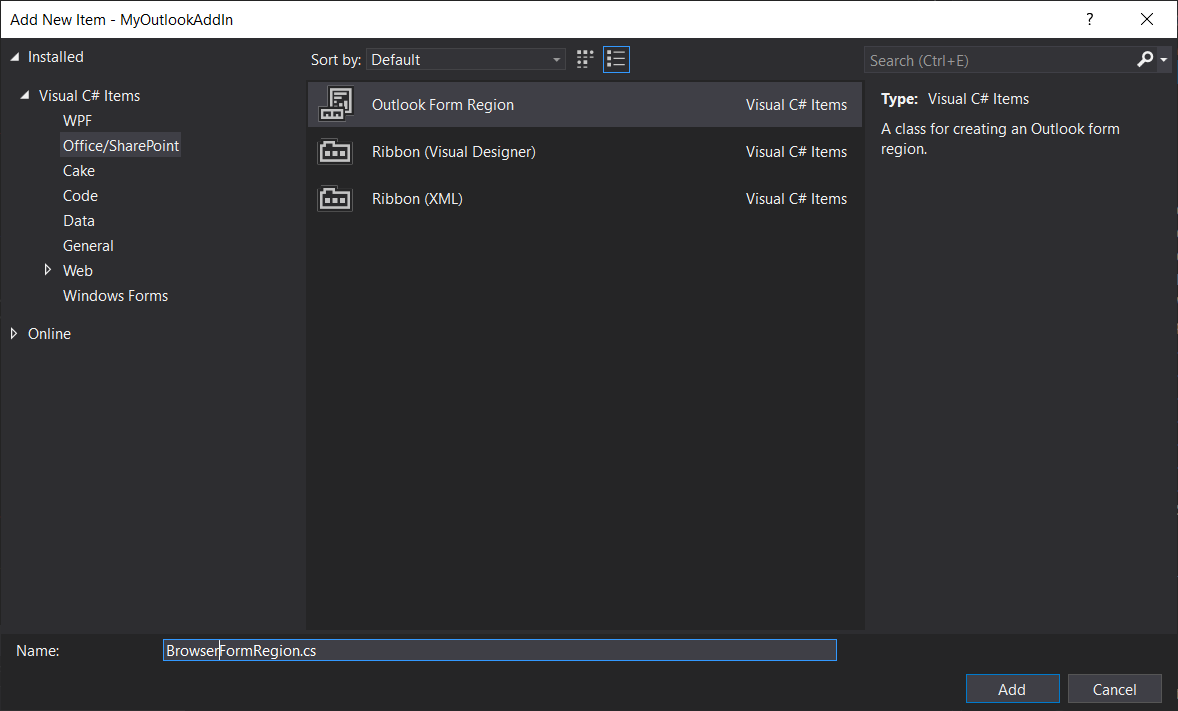
Add a form region which is used to replace or customize the standard Outlook forms. To do so, right-click the project node in the Solution Explorer and select Add New Item:
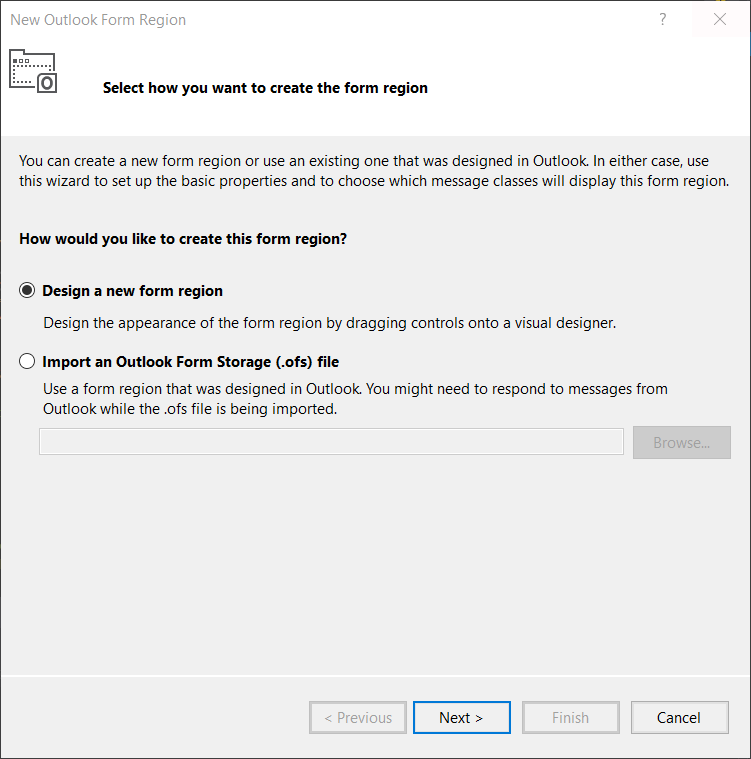
Specify how the Outlook form region is created. To do so, select the Design a new form region option and click Next.
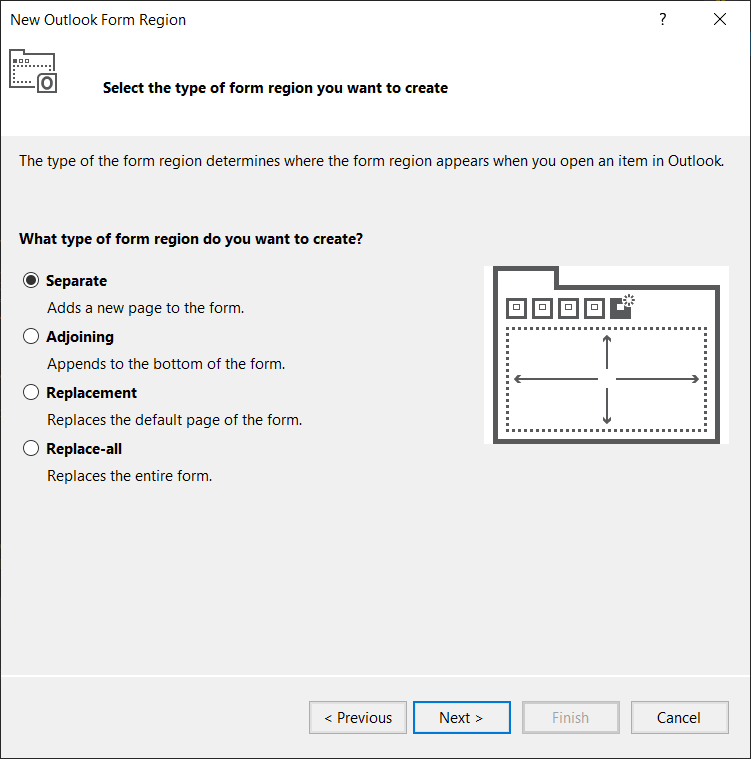
Select the form region type. In this tutorial, we create this form region as a separate page on the form.
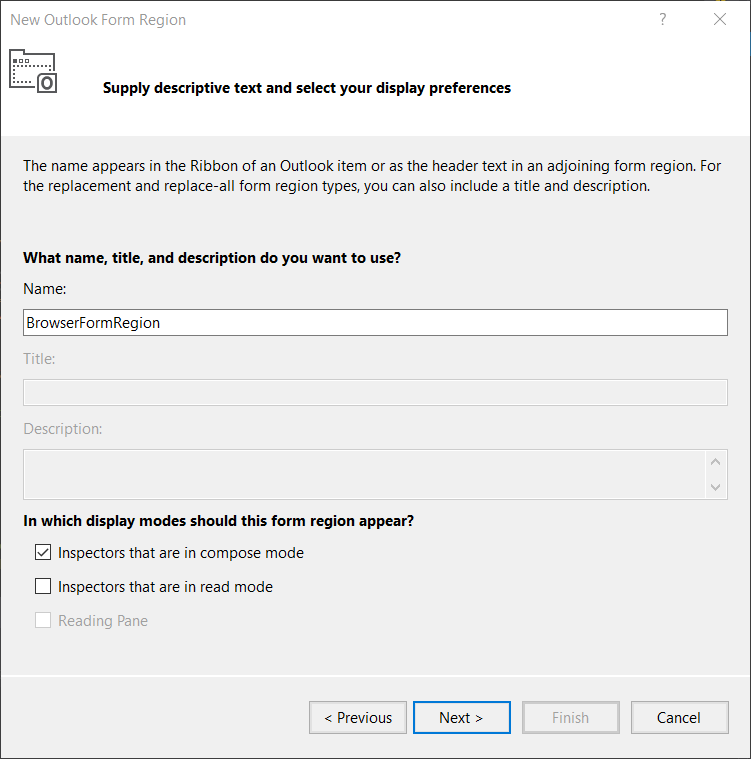
Type the form region name and select the inspector types where this form region appears and click Next.
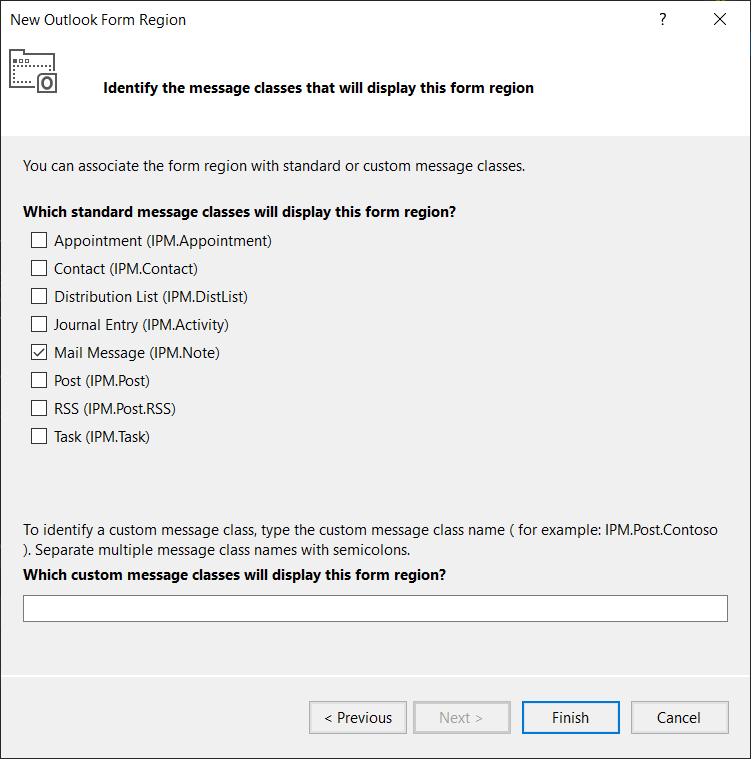
Select the message classes to specify the Outlook item types for which the form region should be available and click Finish. For example, selecting IPM.Note makes the form region available for the email messages.
Adding BrowserView control to the Toolbox
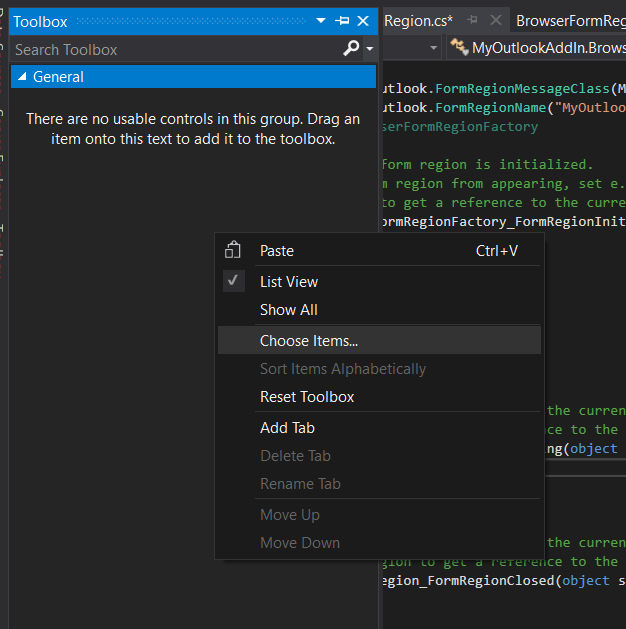
After the form region is created, the form region designer opens. To make it more convenient, add the BrowserView control to the Visual Studio Toolbox. There are a few ways to do this, and the most straightforward of them is to add it from the assembly manually. To do so, right-click the Toolbox and select Choose Items…:
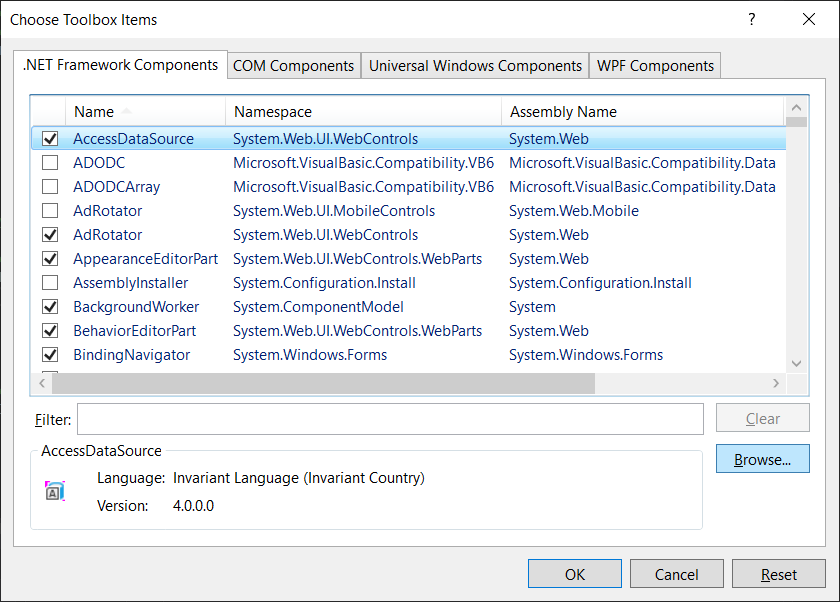
The Choose Toolbox Items dialog appears. Click the Browse button to add the BrowserView control to the list:
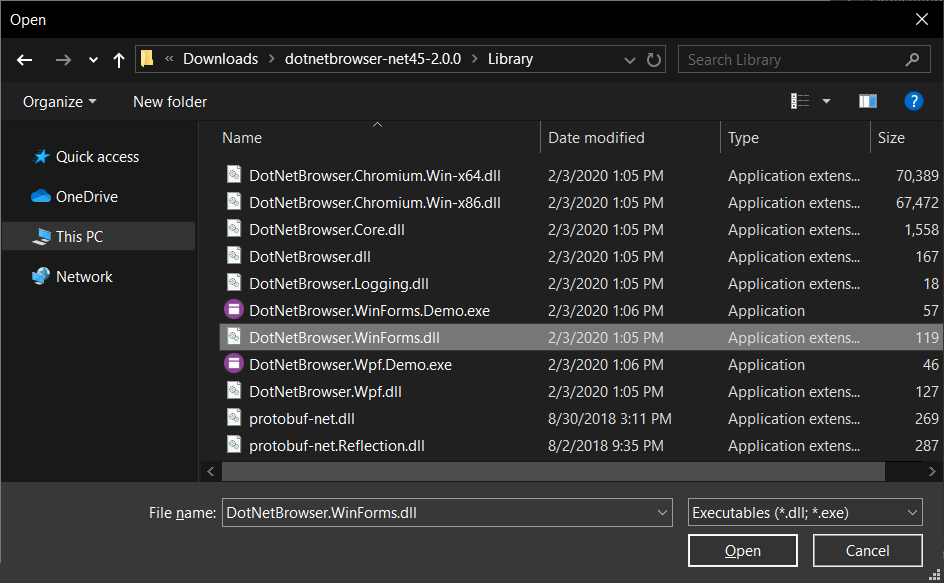
In the file chooser, select the DotNetBrowser.WinForms assembly that contains the BrowserView control:
Make sure that the BrowserView control is now listed and selected, and click OK.

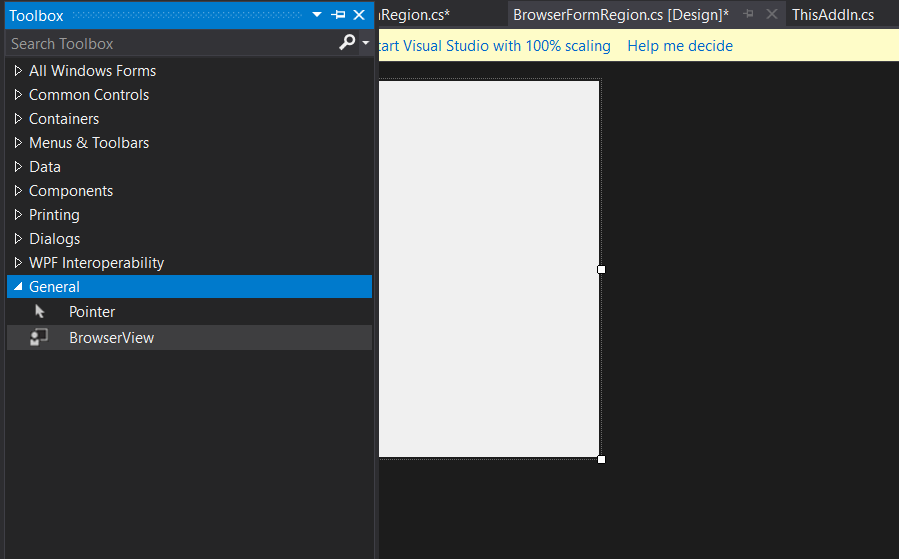
The BrowserView control appears in the Visual Studio Toolbox:
Adding BrowserView to the form region
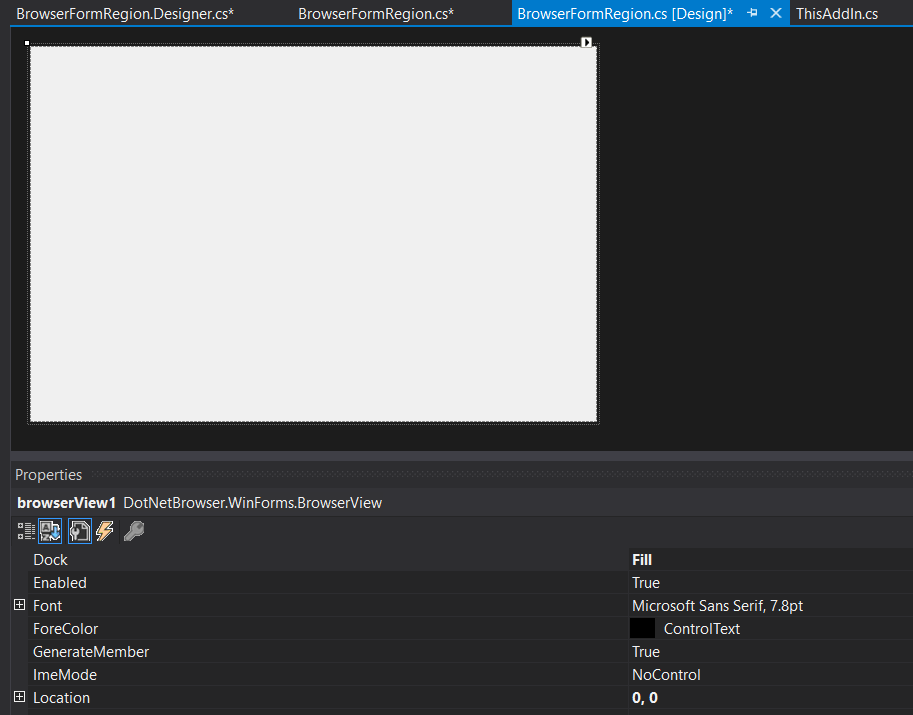
Add the BrowserView control to the form region from the Toolbox and adjust its layout. For example, you can specify its Dock property as Fill to fill the whole form region with the control:
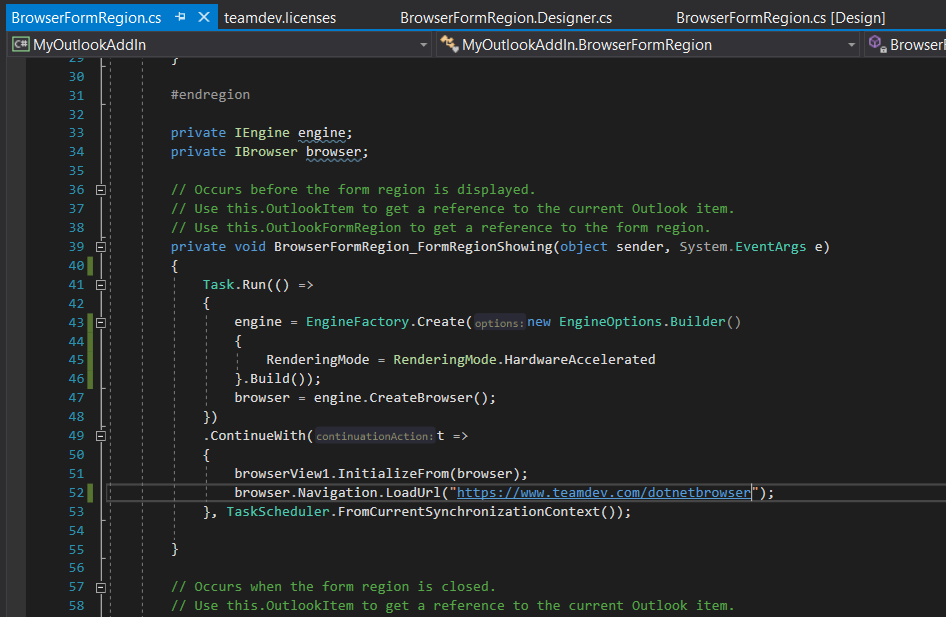
Create an IBrowser instance and initialize BrowserView before the region is displayed.
Building and running the project
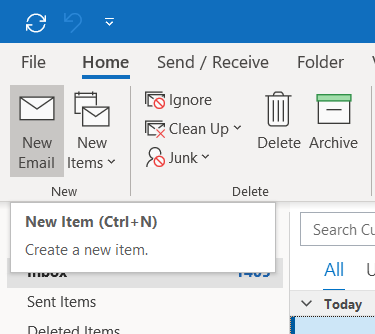
Build and run the project to launch Microsoft Outlook with the sample add-in configured. In the Outlook window, click the New Email button.
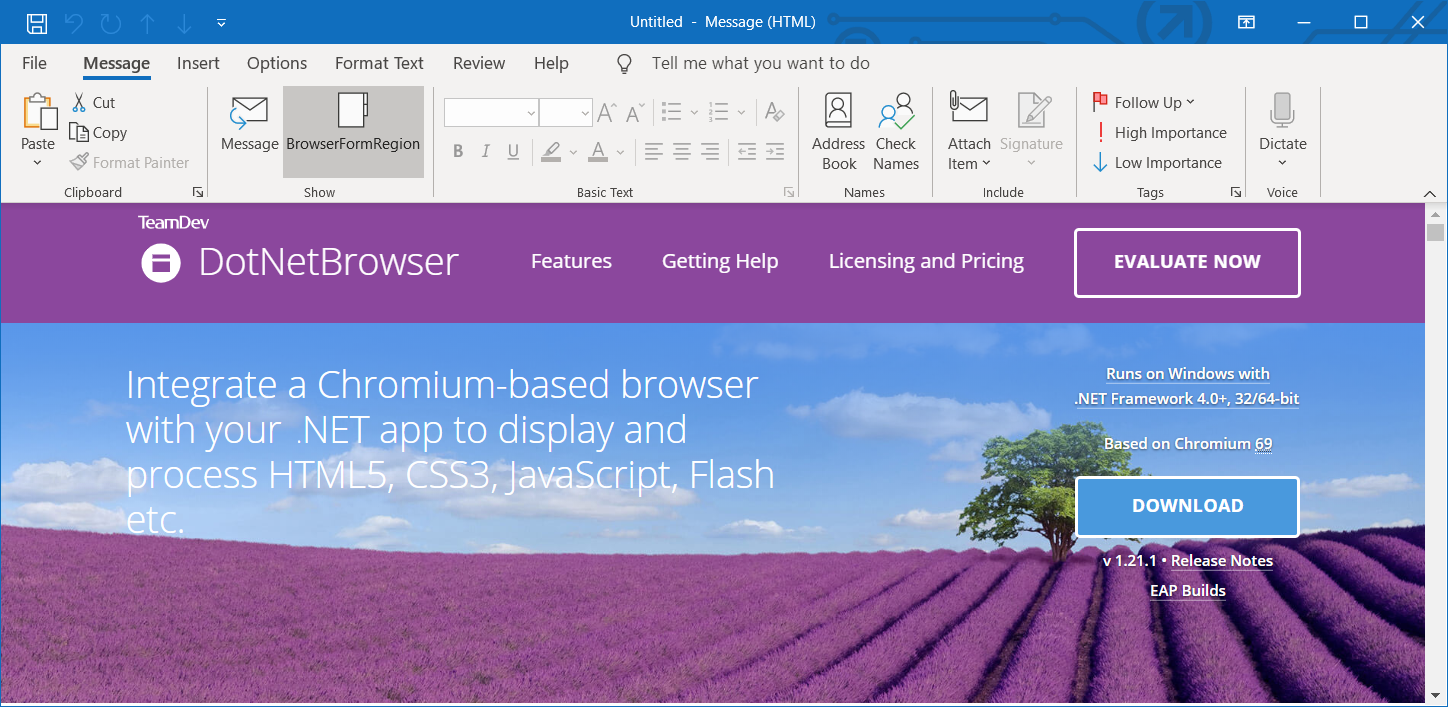
Microsoft Outlook form appears. In the form ribbon, you can notice the BrowserFormRegion button.
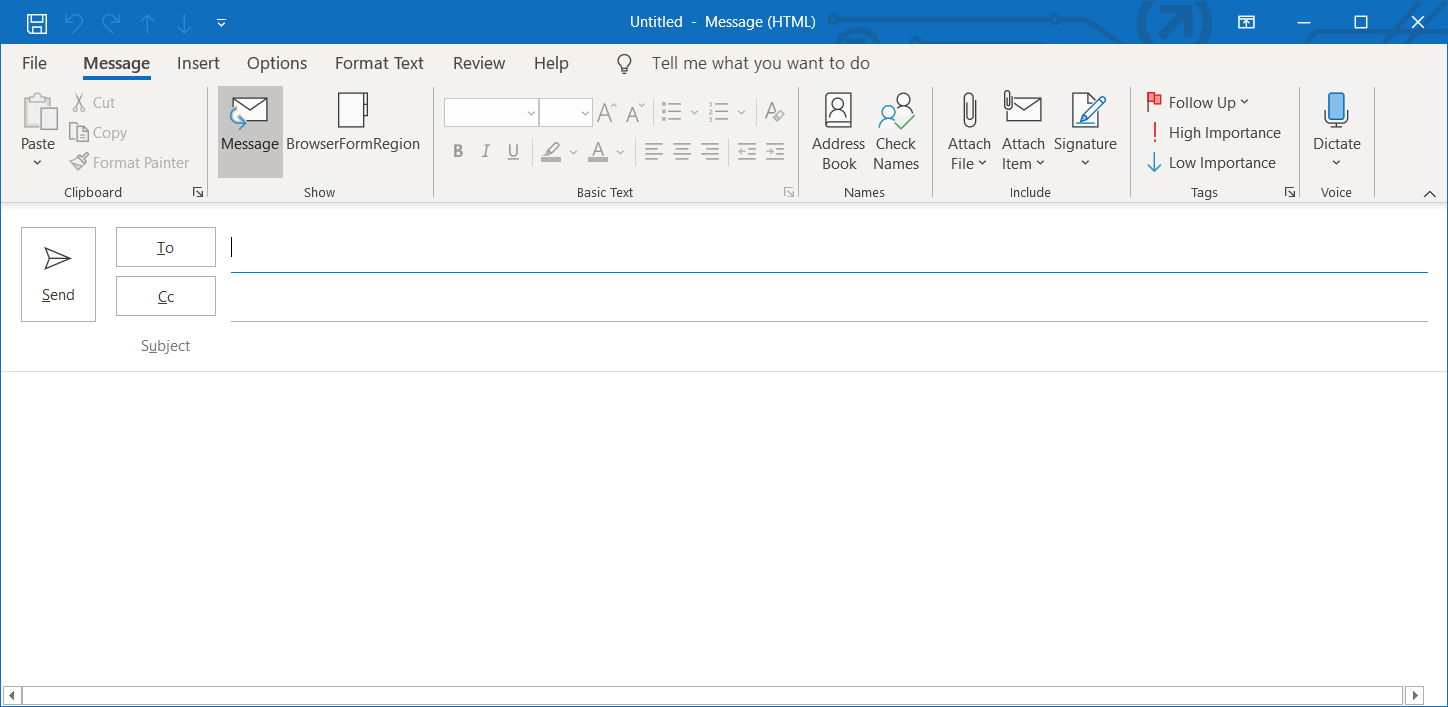
Click the BrowserFormRegion button, to display the sample form region with the embedded BrowserView.