Quick start for WPF
This guide shows how to start working with DotNetBrowser and embed it in a simple WPF application.
Before you begin make sure that your system meets software and hardware requirements.
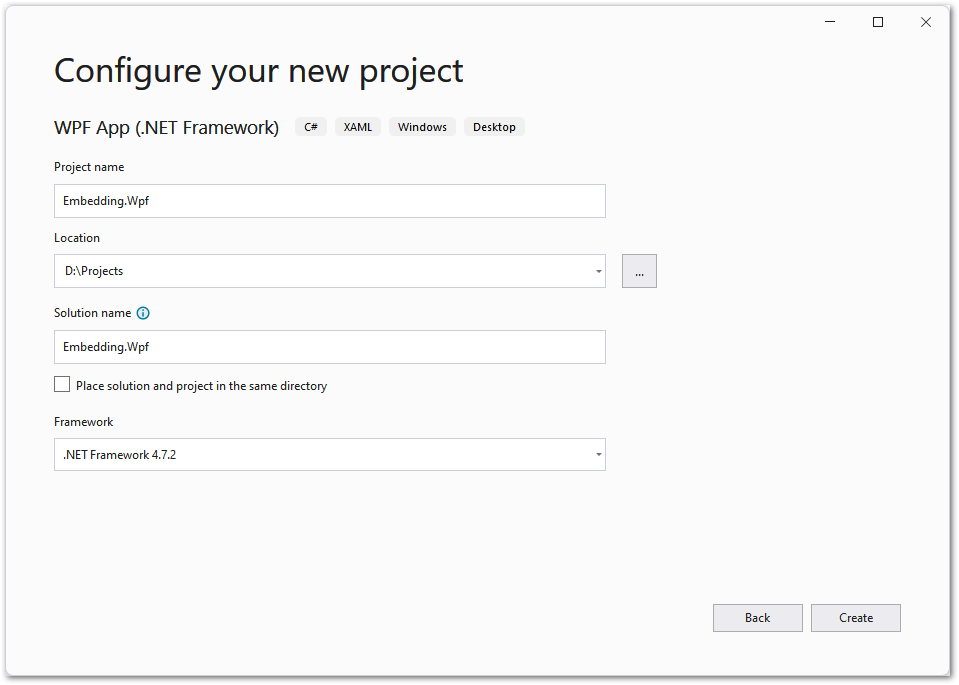
1. Create a WPF application
Create a new Embedding.Wpf WPF Application C# Project or WPF Application Visual Basic Project:
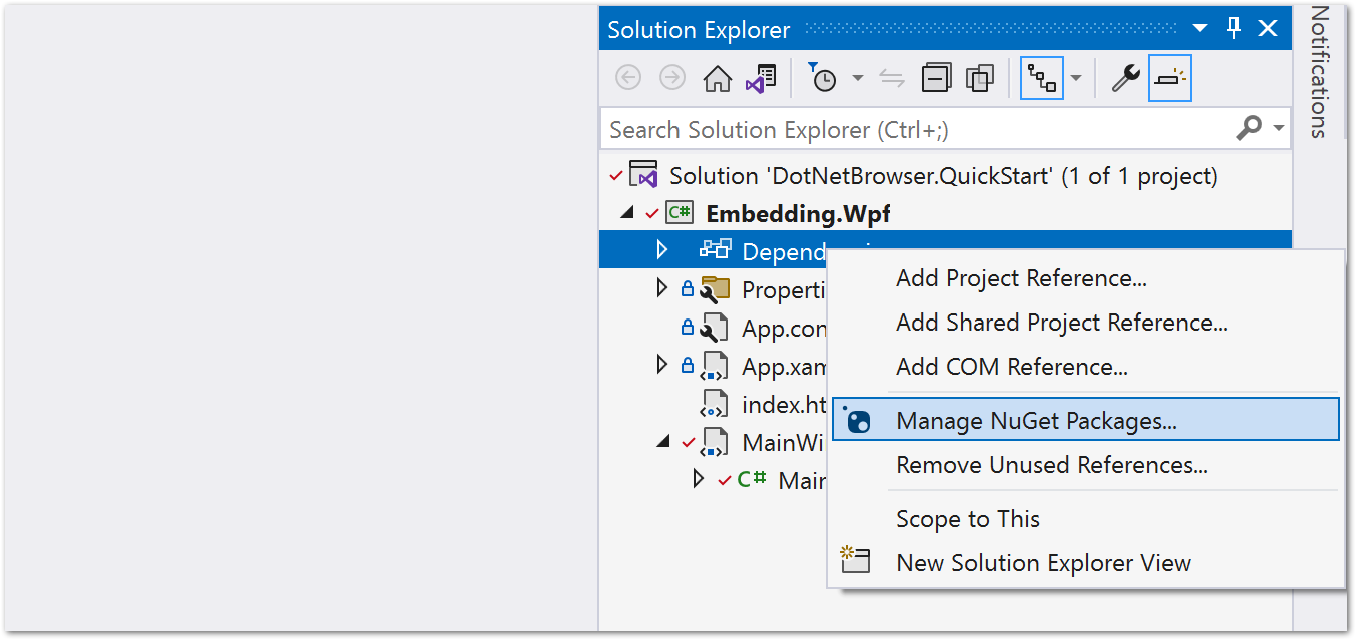
2. Add DotNetBrowser to project
In the Solution Explorer, right-click References and select the Manage NuGet Packages option:
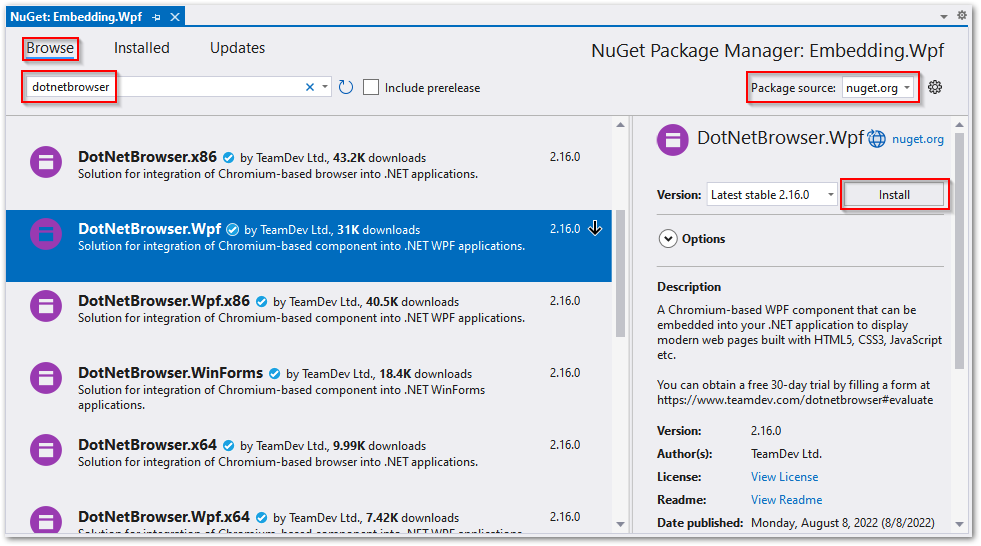
Choose “nuget.org” as the Package source, select the Browse tab, search for “DotNetBrowser”, select the DotNetBrowser.Wpf package and hit Install:
Accept license prompt to continue installation.
3. Change the source code
Insert the following code into the MainWindow.xaml file:
<Window
    xmlns="http://schemas.microsoft.com/winfx/2006/xaml/presentation"
    xmlns:x="http://schemas.microsoft.com/winfx/2006/xaml"
    xmlns:d="http://schemas.microsoft.com/expression/blend/2008"
    xmlns:mc="http://schemas.openxmlformats.org/markup-compatibility/2006"
    xmlns:WPF="clr-namespace:DotNetBrowser.Wpf;assembly=DotNetBrowser.Wpf"
    x:Class="Embedding.Wpf.MainWindow"
    mc:Ignorable="d"
    Title="MainWindow" Height="480" Width="800" Closed="Window_Closed">
    <Grid>
        <WPF:BrowserView Name="browserView" />
    </Grid>
</Window>
Use the code sample below for the MainWindow.xaml.cs MainWindow.xaml.vb file:
using System;
using System.Windows;
using DotNetBrowser.Browser;
using DotNetBrowser.Engine;

namespace Embedding.Wpf
{
    /// <summary>
    ///     This example demonstrates how to embed DotNetBrowser
    ///     into a WPF application.
    /// </summary>
    public partial class MainWindow : Window
    {
        private const string Url = "https://html5test.teamdev.com/";
        private readonly IBrowser browser;
        private readonly IEngine engine;

        public MainWindow()
        {
            // Create and initialize the IEngine instance.
            EngineOptions engineOptions = new EngineOptions.Builder
            {
                RenderingMode = RenderingMode.HardwareAccelerated
            }.Build();
            engine = EngineFactory.Create(engineOptions);

            // Create the IBrowser instance.
            browser = engine.CreateBrowser();

            InitializeComponent();

            // Initialize the WPF BrowserView control.
            browserView.InitializeFrom(browser);
            browser.Navigation.LoadUrl(Url);
        }

        private void Window_Closed(object sender, EventArgs e)
        {
            browser?.Dispose();
            engine?.Dispose();
        }
    }
}
Imports System.Windows
Imports DotNetBrowser.Browser
Imports DotNetBrowser.Engine

Namespace Embedding.Wpf
    ''' <summary>
    '''     This example demonstrates how to embed DotNetBrowser
    '''     into a WPF application.
    ''' </summary>
    Partial Public Class MainWindow
        Inherits Window

        Private Const Url As String = "https://html5test.teamdev.com/"
        Private ReadOnly browser As IBrowser
        Private ReadOnly engine As IEngine

        Public Sub New()
            ' Create and initialize the IEngine instance.
            Dim engineOptions As EngineOptions = New EngineOptions.Builder With {
                .RenderingMode = RenderingMode.HardwareAccelerated
            }.Build()
            engine = EngineFactory.Create(engineOptions)

            ' Create the IBrowser instance.
            browser = engine.CreateBrowser()

            InitializeComponent()

            ' Initialize the WPF BrowserView control.
            browserView.InitializeFrom(browser)
            browser.Navigation.LoadUrl(Url)
        End Sub

        Private Sub Window_Closed(sender As Object, e As EventArgs)
            browser?.Dispose()
            engine?.Dispose()
        End Sub
    End Class
End Namespace
The complete project is available in our repository: C#, VB.
4. Get trial license
To get a free 30-day trial license, fill the web form and click the Get a free trial button. You will receive an email with the license key.
5. Add license
To embed the license key into your project, copy the license key string from the email and insert it as shown below:
EngineOptions engineOptions = new EngineOptions.Builder
{
    RenderingMode = RenderingMode.HardwareAccelerated,
    LicenseKey = "your_license_key"
}.Build();
Dim engineOptions As EngineOptions = New EngineOptions.Builder With {
    .RenderingMode = RenderingMode.HardwareAccelerated,
    .LicenseKey = "your_license_key"
}.Build()
For more information on license installation, refer to this article.
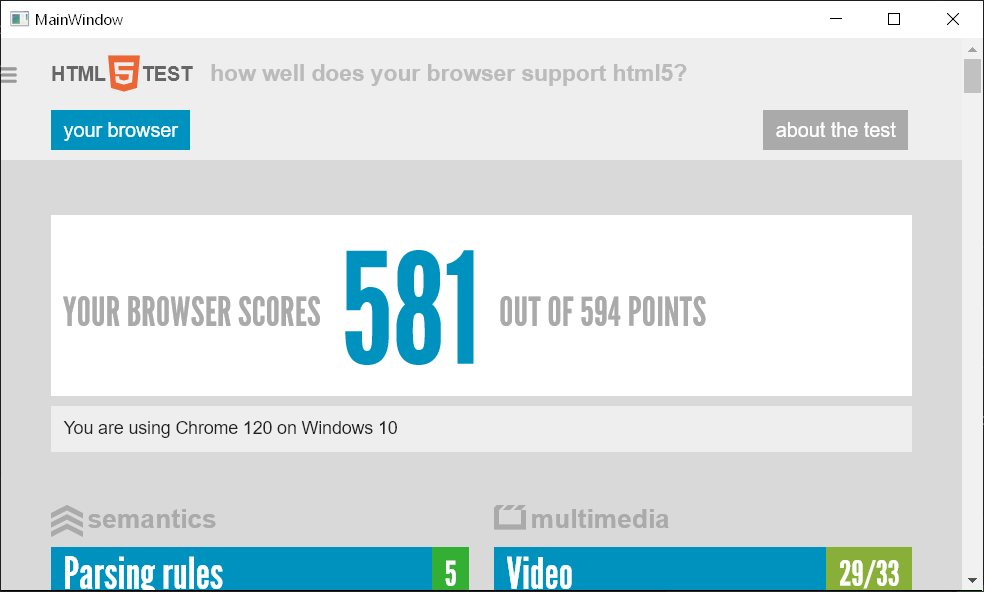
6. Run the application
To run the application, press F5 or click the Start button on the toolbar. The MainWindow opens: